
After we took "fall" down this past weekend we needed a wreath to hang in our entry so I found a picture on pinterest that I loved but adapted it a little bit and this is what I came up with today.

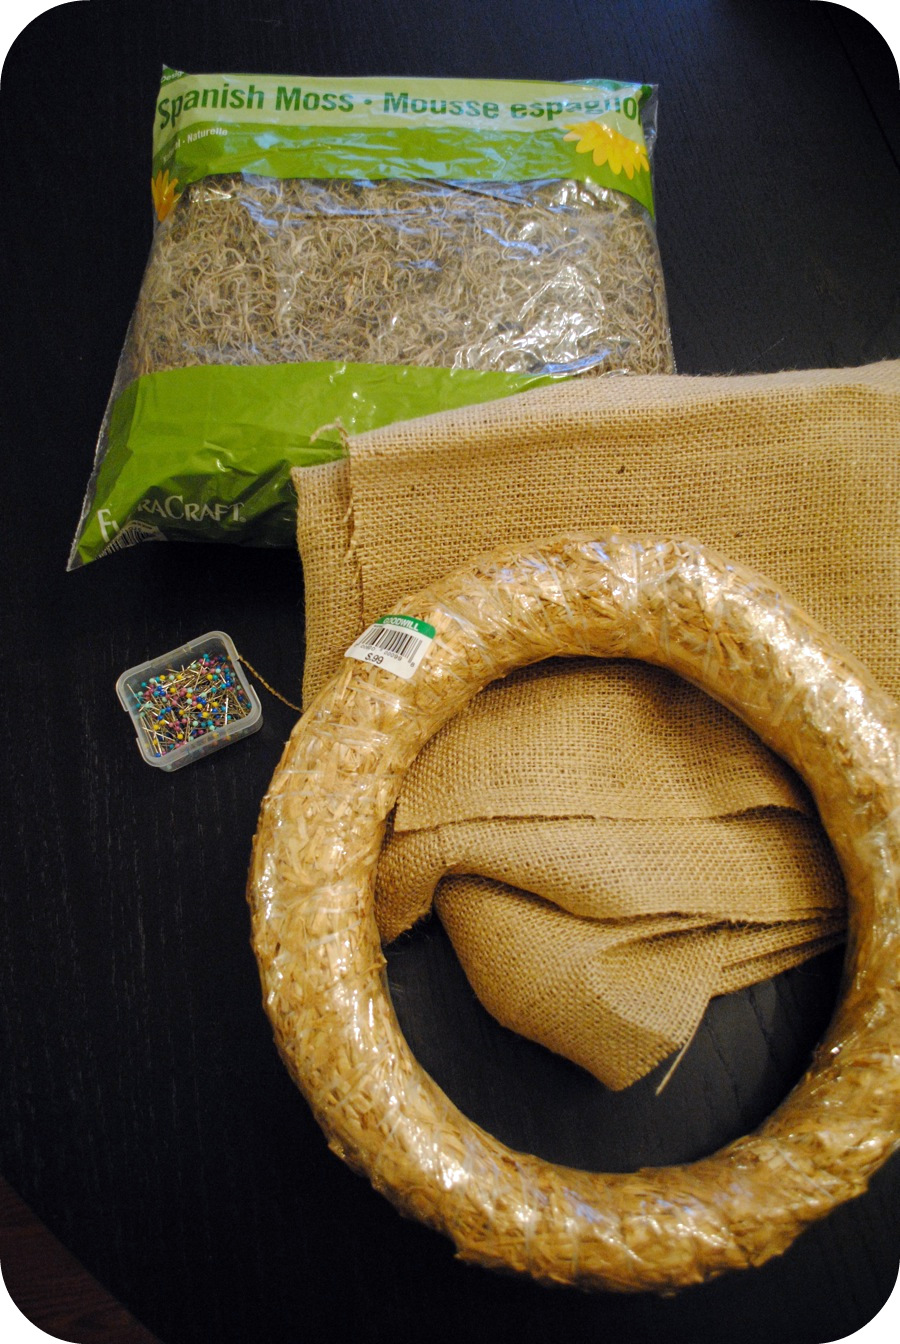
Since we are watching every dollar this holiday season I wanted to use materials that I already had. The only thing I bought was a bag of spanish moss. I actually picked up the straw wreath at Goodwill for .99 cents last summer. They are messy but for this project it really fit my needs since it blends nicely with the burlap.You'll also need to straight pins and hot glue.
Cut your burlap into approximately 4x4 squares. I'm an "eyeballer" and mine were not perfect but it didn't seem to matter.

Next fold a square into a triangle

Then fold the other two corners towards the center of your triangle. You should wind up with a little "bubble"

Take a straight pin and push it through to bottom tip and make sure it goes through all four corners or it will unfold.

Then simply pin it into your wreath. Don't worry about pins showing they'll mostly all get covered by other burlap bubbles and the ones that don't we'll take care of later.

There's no need to worry about placement either just keep going randomly, you can always go back and fill in any bare spot.

You'll be surprised at how fast this actually goes.

All done! Now comes the moss.

Next I used the glue gun to add moss. The moss can also fill any little gaps or cover any pins that might be showing.

It will look something like this when you're finished.

Add a ribbon and it's ready to hang.

I also pinned on this little white fabric bird I made to give it a holiday touch.

I wanted to make something that could be used in virtually any season by simply changing out an embellishment. I hope this gives you a little inspiration to start your week. It was a fun little project to work on.

Linking up to:
Very cute! Another project to add to my to-do list! Thanks for sharing.
ReplyDeleteThis is one of the best burlap wreaths in blogland! I really love it and think I may give it a try. Really great job. Thank you and Merry Christmas season to you and yours. highpointcircle.blogspot
ReplyDeleteAdore this on so many levels... you had me at burlap!
ReplyDeleteI'd love for you to share this project over at my Inspiration Party at Simply Christmas ~ http://shabbyartboutique.blogspot.com/2011/12/inspiration-friday.html
That is really cute! I love pretty much anything created with burlap!
ReplyDeletethanks for linking this!
I'm crazy about the versatility of this wreath!! It will be so easy to switch out across the seasons and I love the dove for Christmas. Bravo!!!
ReplyDeleteBeautiful! Love the moss, great touch!
ReplyDeleteThis looks awesome!! Great Job!
ReplyDeleteI am in love with your wreath!! I used it as inspiration for my own Christmas wreath!! I also featured it today!!
ReplyDeletehttp://craptastickatie.blogspot.com/2011/12/five-feature-friday-19.html
I truly love this rustic wreath-especially that you can use it all winter:)Thank you so much for linking up your lovely project at Get Schooled Saturday. We will be open for business again Friday night-Sunday night!
ReplyDeleteKim @ Too Much Time
www.kim-toomuchtimeonmyhands.blogspot.com